はじめに
前回Style-Transferについて書きました。
touch-sp.hatenablog.com
PowerPointのアート効果で同様な画像変換ができます。
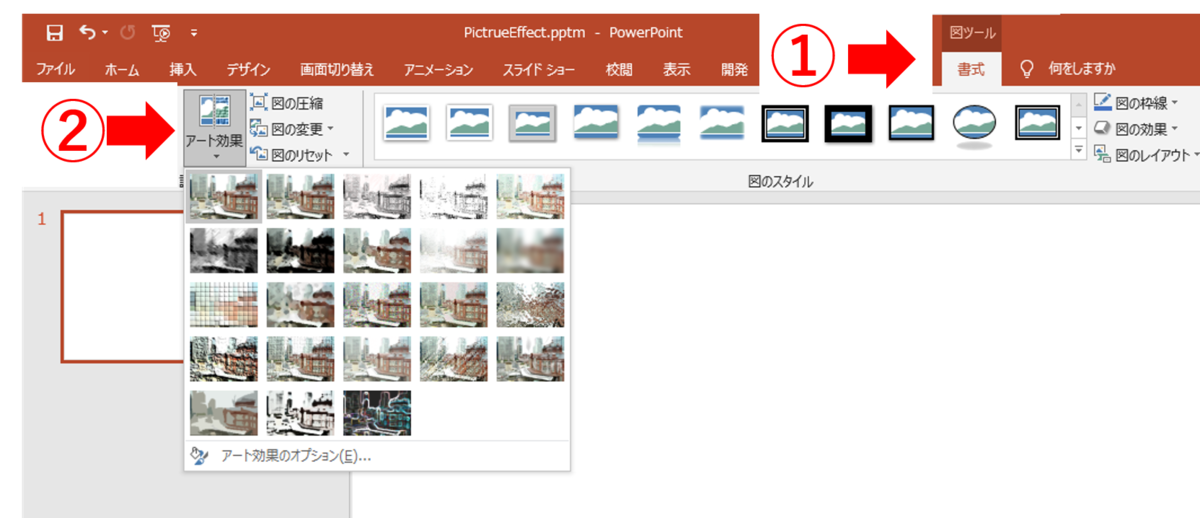
1枚の画像に対してアート効果を適用して画像として保存するVBAコードを書きました。
1回の実行で複数の変換が適用されます。
VBAコード
(注:作業中のファイルを一度も保存していなければ一番最初でエラーがでます。一度保存してから再実行して下さい。)
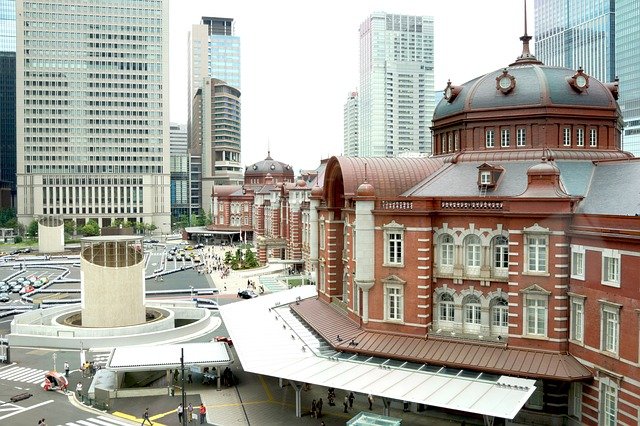
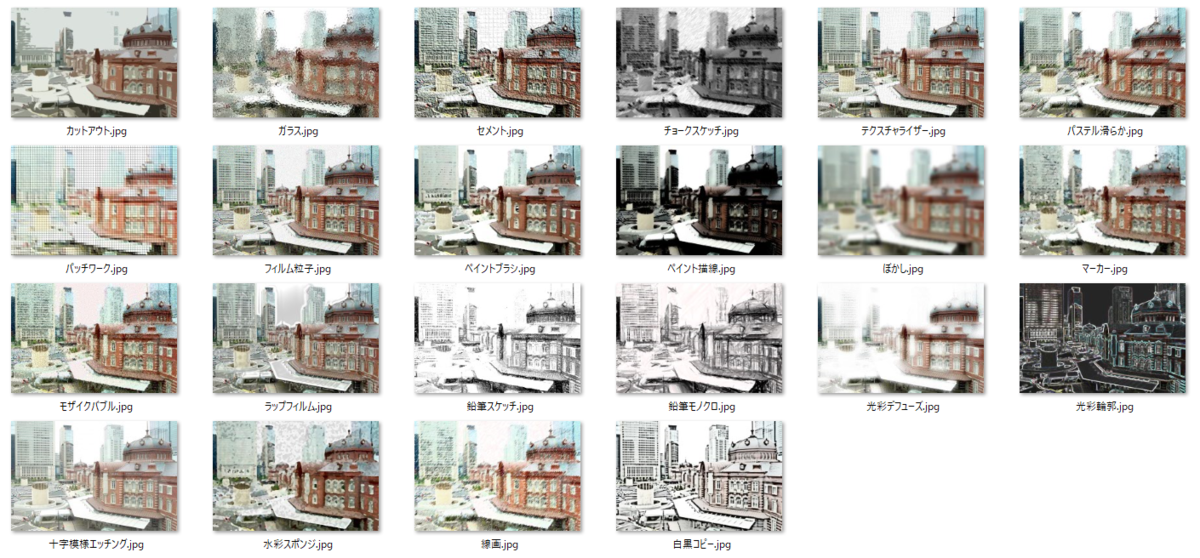
ChDrive ActivePresentation.Path
ChDir ActivePresentation.Path

'============ファイルの指定============
Dim file_name As String
file_name = "tokyo.jpg"
'=================================

'============フォルダの作成============
If Dir("result", vbDirectory) = "" Then
    MkDir "result"
End If
'=================================

Dim effect As Variant
Dim effect_name As Variant

effect = Array(2, 4, 5, 6, 8, 9, 10, 11, 12, 13, 14, 15, 16, 17, 18, 19, 20, 21, 22, 23, 26, 27)

effect_name = Array("ぼかし", "セメント", "十字模様エッチング", "チョークスケッチ", "カットアウト", "フィルム粒子", _
                    "ガラス", "光彩デフューズ", "光彩輪郭", "パッチワーク", "線画", "マーカー", "モザイクバブル", _
                    "ペイントブラシ", "ペイント描線", "パステル滑らか", "鉛筆モノクロ", "鉛筆スケッチ", "白黒コピー", _
                    "ラップフィルム", "テクスチャライザー", "水彩スポンジ")

For i = 0 To 21

    ActivePresentation.Slides.Add Index:=1, Layout:=ppLayoutBlank
    ActiveWindow.View.GotoSlide Index:=1

    With ActivePresentation.Slides(1).Shapes.AddPicture(filename:=file_name, LinkToFile:=msoFalse, SaveWithDocument:=msoTrue, Left:=0, Top:=0)
        .Select
    End With

    With ActiveWindow.Selection.ShapeRange
        .Fill.PictureEffects.Insert (effect(i))
    End With

    ActiveWindow.Selection.ShapeRange.Export PathName:="result\" + effect_name(i) + ".jpg", Filter:=ppShapeFormatJPG

    ActivePresentation.Slides(1).Delete

Next i
「result」というフォルダが作成されて、その中に22枚の画像が入ります。
動作環境
以下の環境で作成しています。
Windows 10
Office Home and Business 2019
補足
PictureEffectsに設定する数字と日本語の対応表をのせておきます。
2	ぼかし
4	セメント
5	十字模様エッチング
6	チョークスケッチ
8	カットアウト
9	フィルム粒子
10	ガラス
11	光彩デフューズ
12	光彩輪郭
13	パッチワーク
14	線画
15	マーカー
16	モザイクバブル
17	ペイントブラシ
18	ペイント描線
19	パステル滑らか
20	鉛筆モノクロ
21	鉛筆スケッチ
22	白黒コピー
23	ラップフィルム
26	テクスチャライザー
27	水彩スポンジ
